 Read about the remake of the classic Udat case.
|
 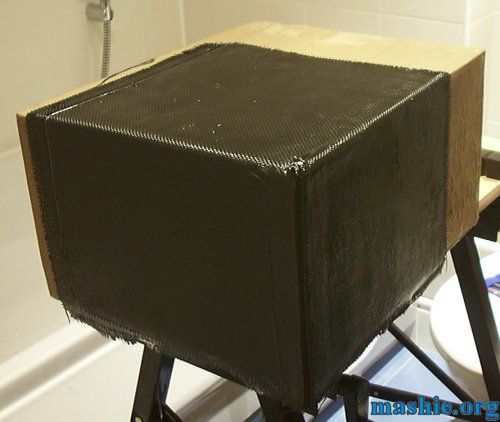 Time for the main internal structure, a cardboard box had to do as a mould and did so quite well after five or so layers of aerosol wax. Three out of six layers are added. Since this is the first time I play with this stuff things simply didn't go as planned and the epoxy started to cure before I managed to add the fourth layer.
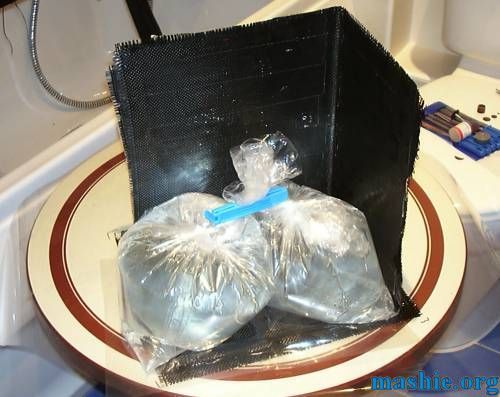 So to reach six layers another two layers were "glued on" to what will be the back, this time the bottom layer is residing against some mylar sheet to give a shiny finish. The plastic bags contains nothing but water to give a nice even force downwards.
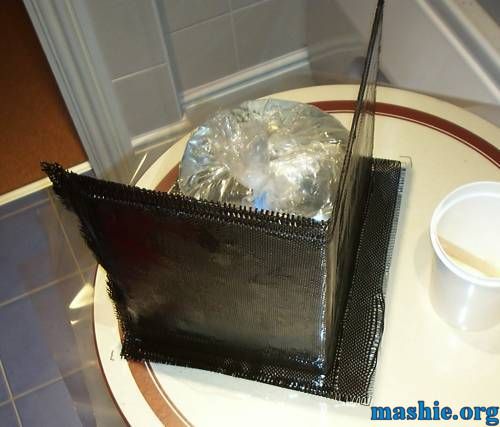 Here from the other side, when using carbon fibre it is always a good idea to have enough margins that later can be cut away so only nice clean edges will remain.
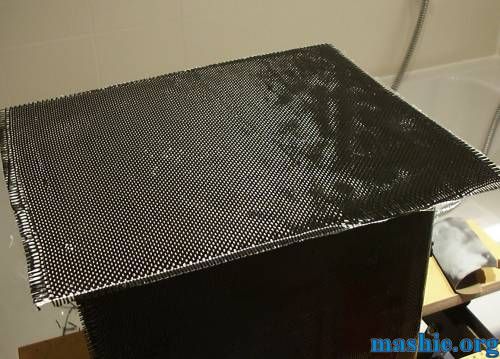 The epoxy has dried and a nice shiny surface has been added.
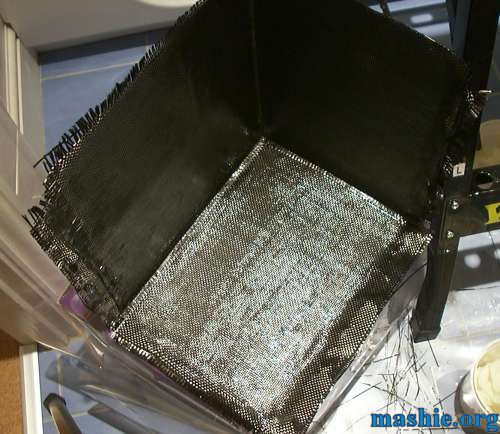 A few more layers were added all around so the final thickness is six layers of carbon fibre on each side.
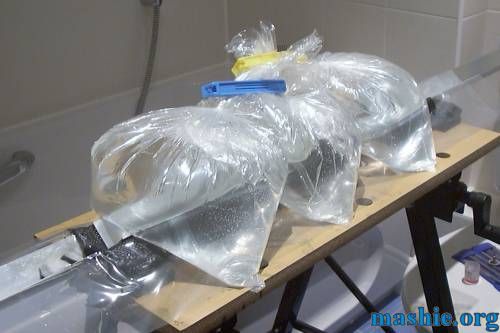 Some L-shaped pieces will also be needed so here we go with a nice sandwich of material. From the bottom: Aluminium profile, mylar sheet, carbon fibre + epoxy, mylar sheet, aluminium profile and a few more bags of water to add pressure.
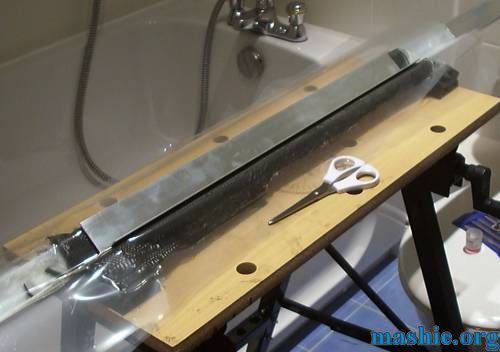 Demould time, easier to see all layers here.
 Finished piece, the reason for the strange pattern is that I used all small spare bits that had been left over from previous cutting.
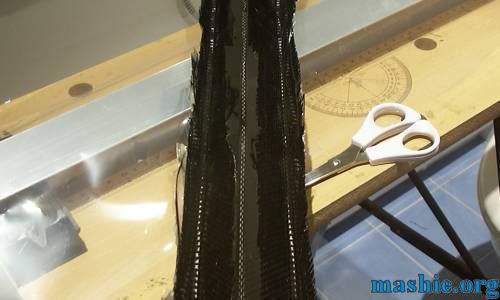 And from the other side, it will be a lot of material to remove before it can be used properly.
|
| All trademarks used are properties of their respective owners. All rights reserved Copyright © 2002 - 2020 by Mashie Design |