  Read about the remake of the classic Udat case.
|
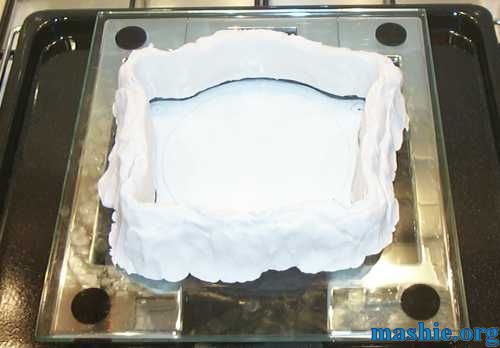 When I was happy with the shape it was time to add a release agent so it should be easy to remove the finished cast later. Normal Vaseline petroleum jelly (lip therapy) was used in a very thin layer on all parts that would be in touch with the resin.
 Clear cast resin has to be applied in layers or it will crack because of the heat created while it harden. First layer done, time to wait 30 min. This stuff has a terrible smell, if you plan to use make sure you have a very well ventilated area.
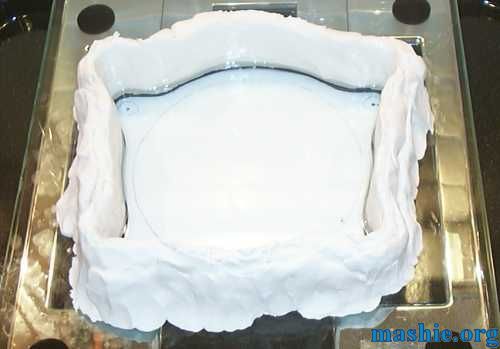
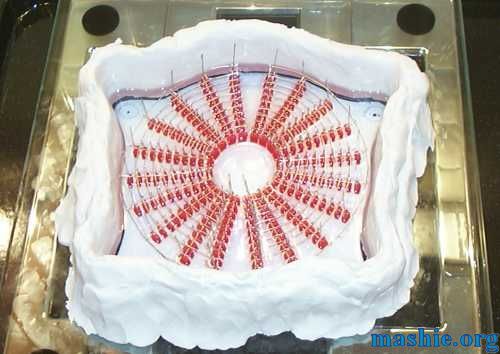 LEDs and one more layer of resin applied, wait another 30 min.
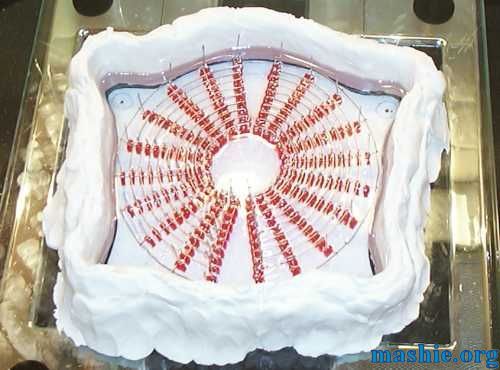 Slowly layer by layer the LEDs are covered.
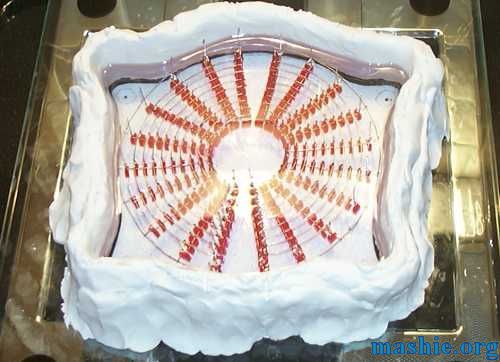 The final clear layer done, the LEDs and the wire mesh are completely covered now.
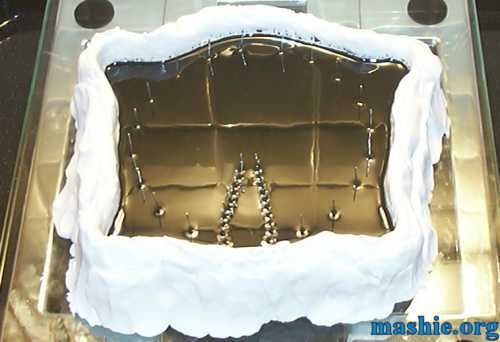 As a final layer black dye was added to the resin since I didn't want to make a window even if that should be fully possible.
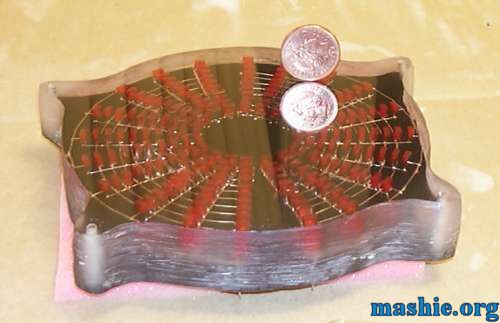
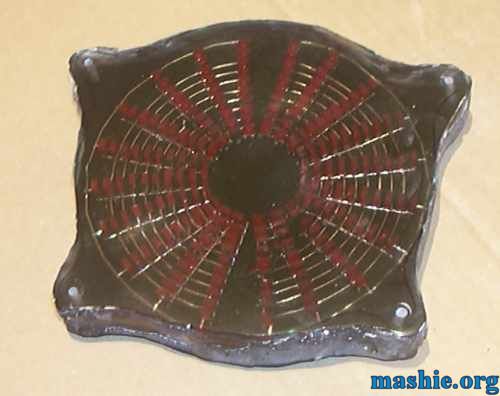 After 24 hours, the LED block was hatched. It turned out a bit messy since I was a bit slow to add the black layer and the cast got time to shrink so the black resin got into the gap between the frame and resin. You always learn something when you try out new stuff.
 Looks more like a rock then a piece of clear plastic...
 Well, nothing that can't be fixed, time to do a bit of Dremel action with a 60 grit sanding wheel to clear up the edges. To get the front sorted, wet sanding from 180 to 600 grit sandpaper was required. To get the true glory back two hours of rubbing in front of a nice DVD movie was all that was required...
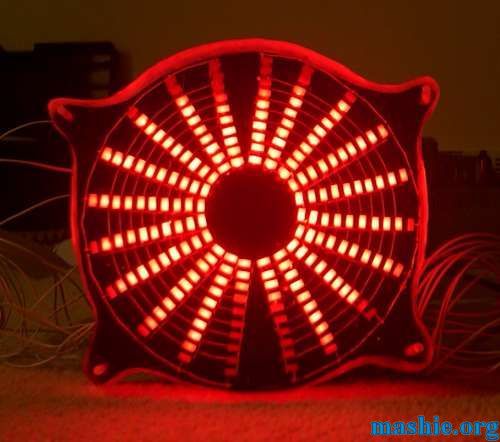 This was a very scary moment, had the soldering joints survived the 2% shrinkage the casting did? Well as you can see all 200 survived, woohoo.
I soo had to make another little animated gif (125k) to enjoy the success. |
| All trademarks used are properties of their respective owners. All rights reserved Copyright © 2002 - 2020 by Mashie Design |


