 Read about the remake of the classic Udat case.
|
 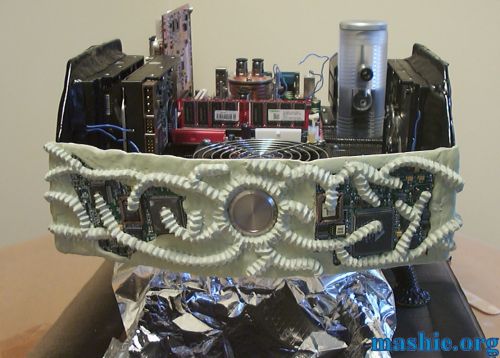 After about 2h with the dremel all carving is done.
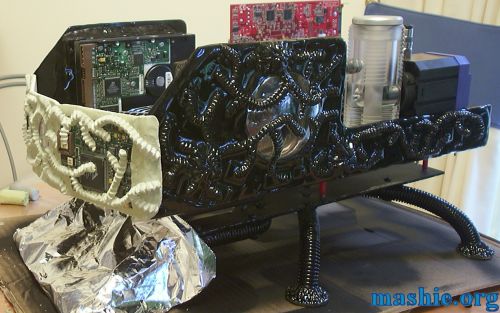 Another view to show how the front curves and also how the sides are overlapped.
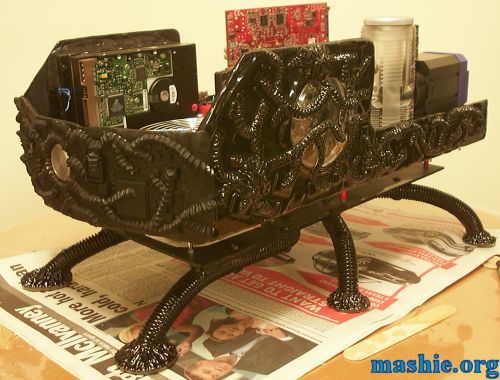 One step closer to completion with paint added.
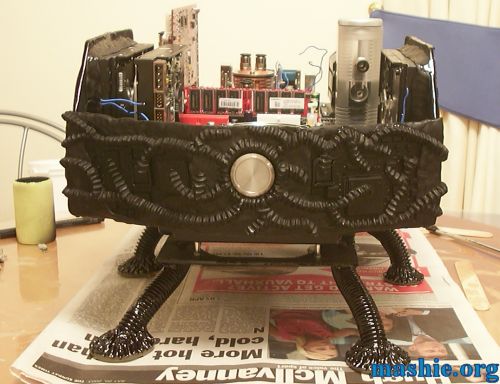 One button, only one button, that is all you will see on this computer and as you can guess it is for the power.
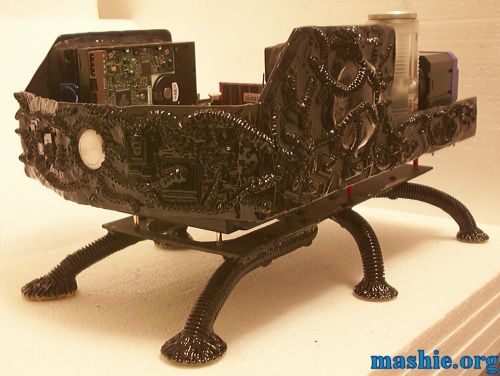 Front panel completed and the result is very glossy. This is how it looks like without flash.
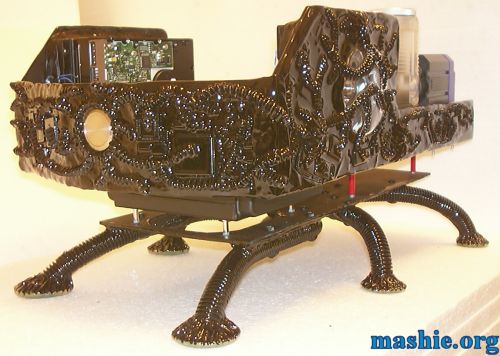 With the use of flash you can see all the small details.
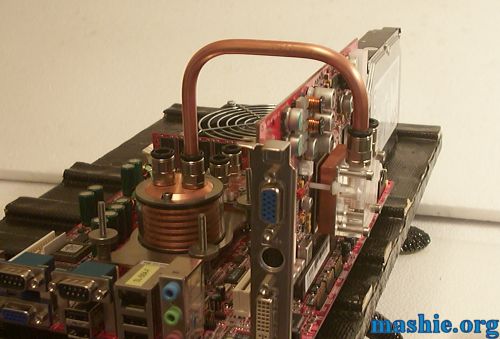 Time to move on with the internals. As you might remember from the first page I planned to use copper tube for the watercooling. It worked fine to use push in fittings with copper tube as long as only one side of the tube was attached to a fitting, as soon as both ends were attached to fittings the problems began.
All of a sudden it was impossible to remove the copper tube from the grip of the fittings, the tube above had to be cut in half so it could be removed...
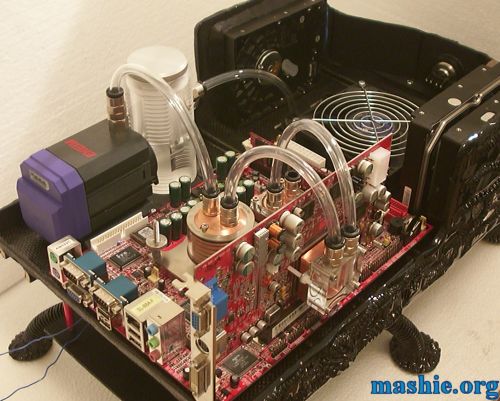 Not being too happy scrapping one of the main planned features I contacted Wizard Designs to see what they had to offer as a backup plan. A new arrival of clear Plug&Cool tube was suggested and what can I say, the result is amazing. I'm almost happy the copper tube idea didn't work out.
|
| All trademarks used are properties of their respective owners. All rights reserved Copyright © 2002 - 2020 by Mashie Design |