 Read about the remake of the classic Udat case.
|
 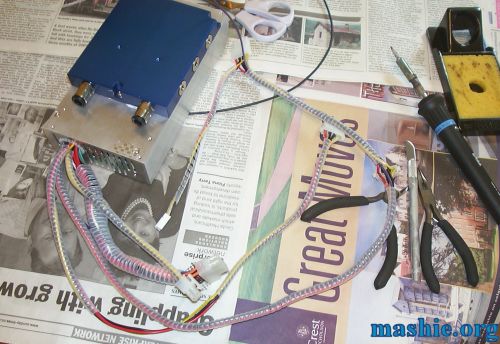 Time to complete the internals before the final fitting of the shell.
First some wire management before the PSU can be installed. With the help of some 3mm wire wrap and a soldering iron the wires got in shape. 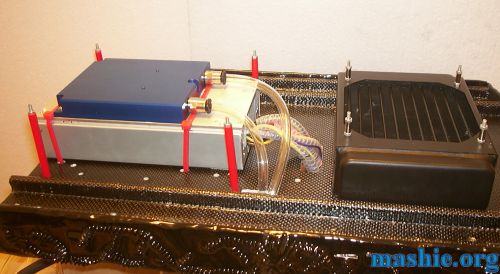 The PSU is attached to the main baseplate with heavy duty zip ties, no need to make it more complicated than needed. The PSU wont move a bit in any direction now so it must work quite well. The clear tube was a breeze to plug in, watercooling has evolved a lot since last time I used it two years ago.
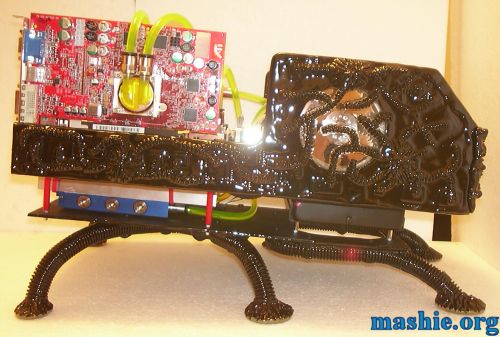 The lower base plate has been attached for the last time hopefully. The sides between the base plates will not be covered, mainly because it is nice to be able to see from the outside that it is a computer on the inside for once. Also that the watercooled PSU looks quite nice is another reason...
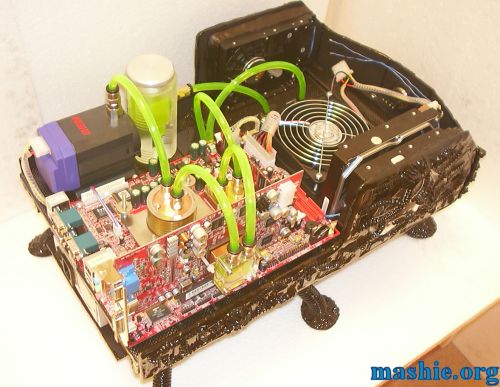 With the cooling loop completed it was filled with a mixture of deionized water, AC fluid and green UV reactive dye. By having the pump running and slowly fill the header tank the whole system was full and bled from air in a few minutes.
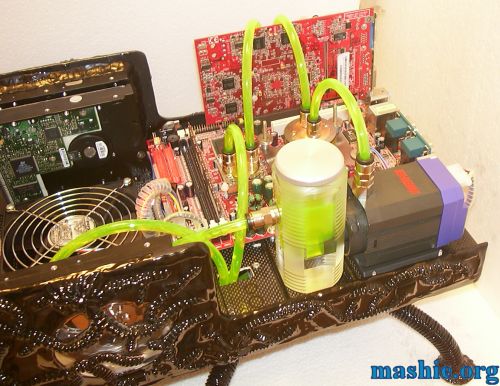 The pump was running for a few hours to make sure everything was watertight which it was. The Vantec fan has been replaced with a Papst since it seemed a bit too weak for this application. By connecting the fan to the normal fan header on the motherboard the built in PWM feature will control the fan speed based on the CPU temperature.
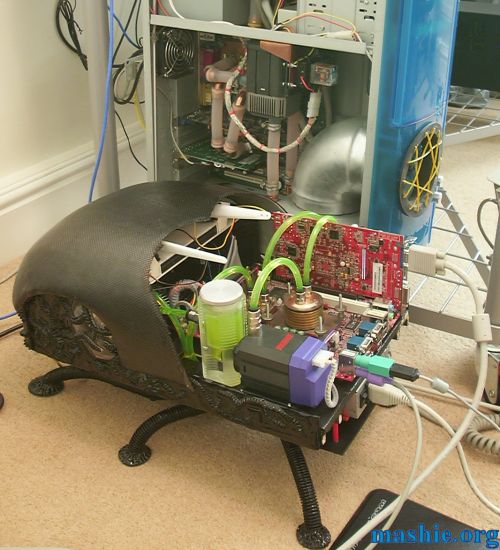 The bug was powered on for the first time without any incidents and Windows 2000 was installed together with about 100MB of windowsupdate stuff. The amount of noise generated by the single fan is close to zero.
The watercooled computer behind is Syrinix, the last normal computer modded by me back in 2001. It is fun to see how everything evolves, back then 1/2" ID tube was king, now 1/4" is working just as well. |
| All trademarks used are properties of their respective owners. All rights reserved Copyright © 2002 - 2020 by Mashie Design |