 Read about the remake of the classic Udat case.
|
 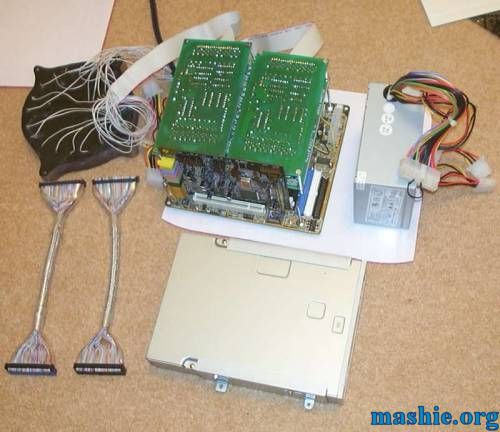 Two 9" IDE cables and a normal CD-ROM drive added just for size reference.
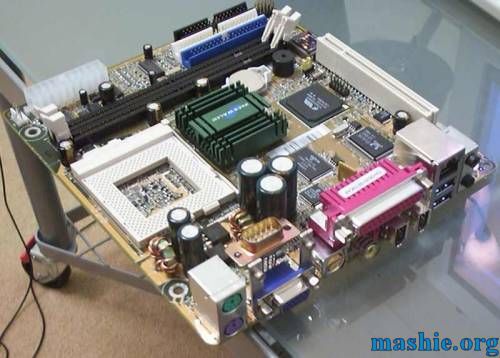 The Shuttle FV-24 motherboard from So-Trick Computers was slightly modified so the external serial port became internal. I simply cut off the old connector and replaced it with a new straight one. Oops, I think I voided the warranty.
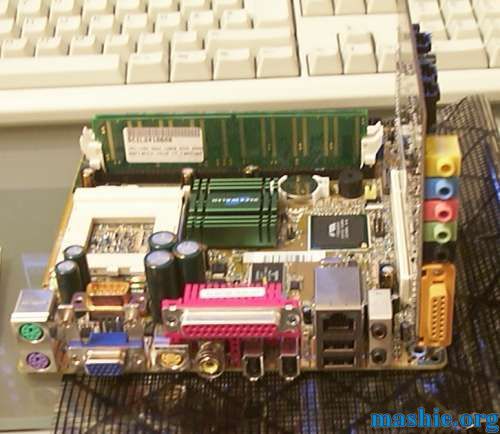 Plenty of ports that needs a new I/O plate.
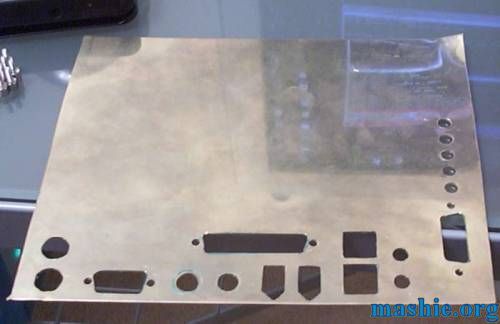 A brass plate with 24 holes suites the needs fine, but it was a bit of a pain to make using a powerdrill and files.
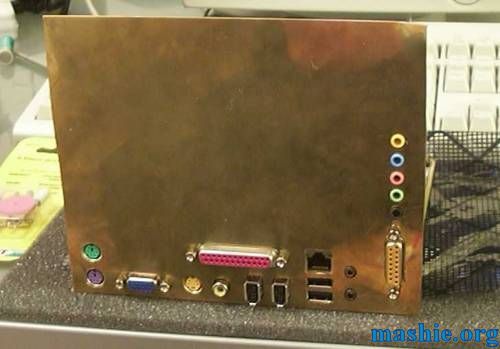 After some minor adjustments of the PCI slot, everything did fit.
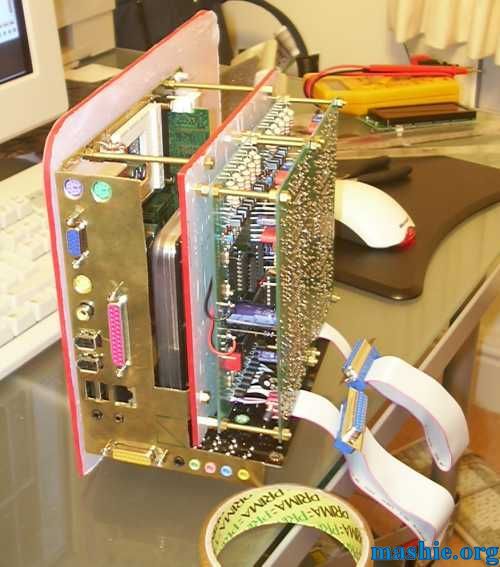 The I/O plate was cut to shape and a first test assembly of the internals was done. I went for a sandwich construction since it is the most space saving and also easiest to build. The motherboard is mounted on the back plane while the controller cards and harddrive is mounted on the next layer. The protective film on the 4mm red acrylic will stay on as long as possible to prevent scratches. The two flat cables will carry the signals to the LED block.
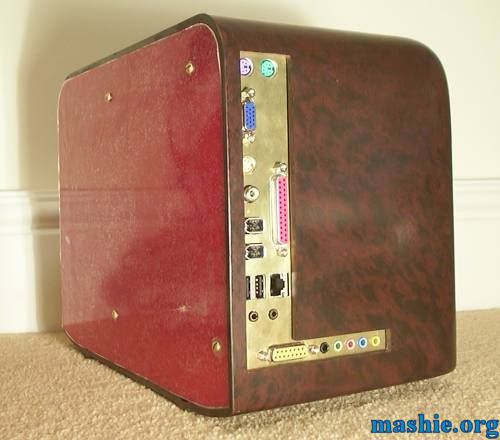 First cut in the Bakelite It is a really strange material, it is very hard and a dremel is of no use. Drills and files had to do the job.
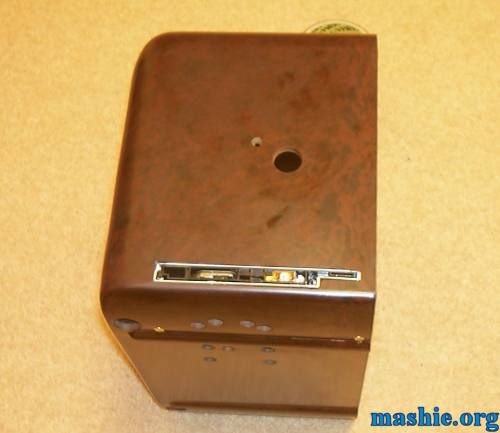 A slot for the now defaced CD-ROM was also cut. The big and small hole above it are old remnants since this was a radio and will be taken care of later.
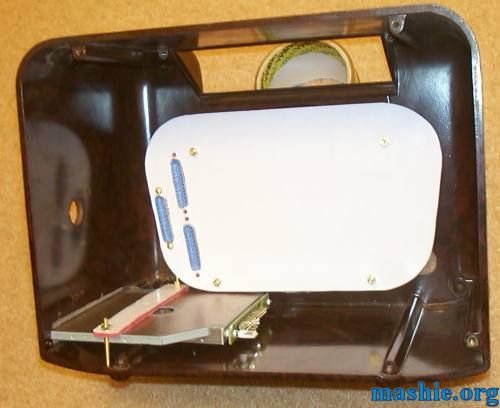 The backside of the LED block is covered by acrylic to give a clean look and also to be able to manage and protect all wires. The three 25 pin DIN connectors are used for all signal transfer such as LED block (40 pin), power, reset, serial to LCD, audio cable to CD-ROM and power to CD-ROM and LCD.
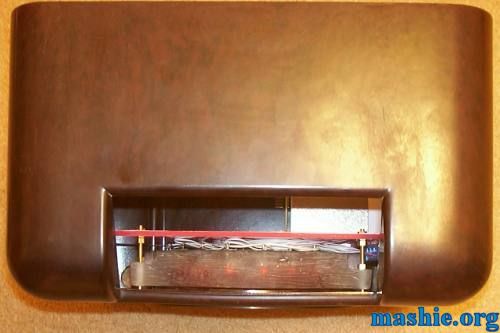 The cables are well squeezed in place. The LED block takes up quite a lot of valuable space but the margins are still on the right side.
|
| All trademarks used are properties of their respective owners. All rights reserved Copyright © 2002 - 2020 by Mashie Design |